
Good stamping dies rely on excellent die design. Excellent design reduces costs, shortens time to market, and improves part quality. In practice, engineers follow a precise process: evaluating the part, optimizing the geometry, selecting materials, designing the die, building prototypes, conducting tests, and finally, performing production validation. I’ll walk you through these steps in detail, linking design decisions to standard shop capabilities, including CNC machines, wire EDM, precision grinding, and coating. You’ll learn how a well-designed stamping die can save costs and produce reliable, repeatable parts.
Part evaluation and DFM kickoff
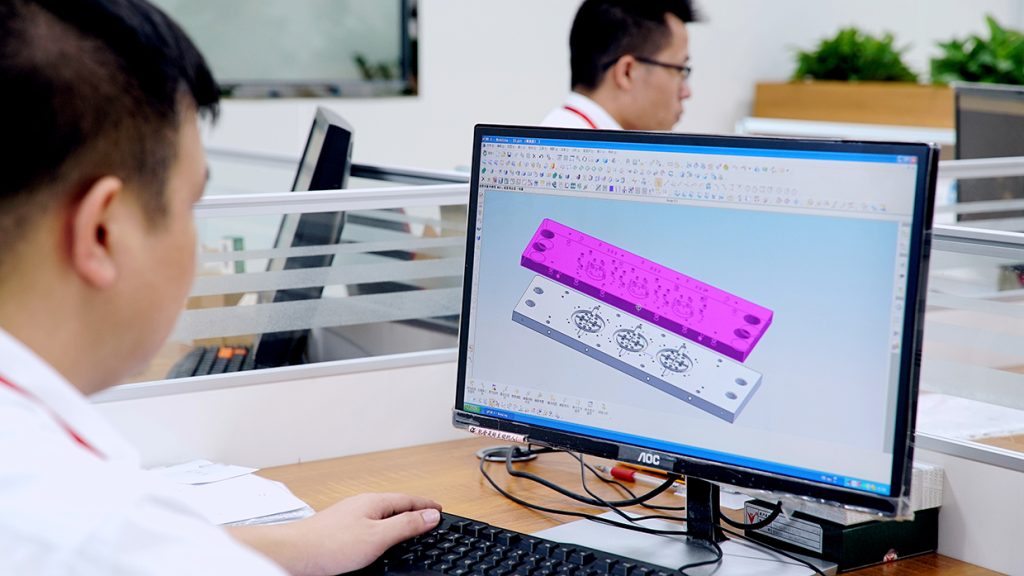
First, review the part drawing and intended function. Check dimensions, tolerances, and critical features. Next, perform a Design for Manufacturing (DFM) analysis. Identify potential forming issues, such as cracks, wrinkles, or springback. For example, thin metal connectors and IC lead frames require special attention. Also, choose the right material early—stainless, copper alloys, high-carbon steel, or special alloys all behave differently. At this stage, use CAD and CAE tools to run initial simulations. Consequently, you can flag design changes before tooling starts. This early collaboration between design and manufacturing prevents costly rework later.
Process selection and material planning
Decide whether to use progressive stamping, transfer dies, or single-station tooling. Progressive dies are suitable for high-volume parts that require a combination of blanking, punching, and bending. Transfer dies work well for deep drawing or complex assemblies. Then plan material flow. Determine coil width, yield strength, and strip layout. Also, check scrap management and blank nesting options. Moreover, choose surface treatments and coatings now—TiCN or DLC coatings increase punch life for hard materials. Proper process selection and material planning set the foundation for a robust stamping die design.
Detailed die layout and stage definition
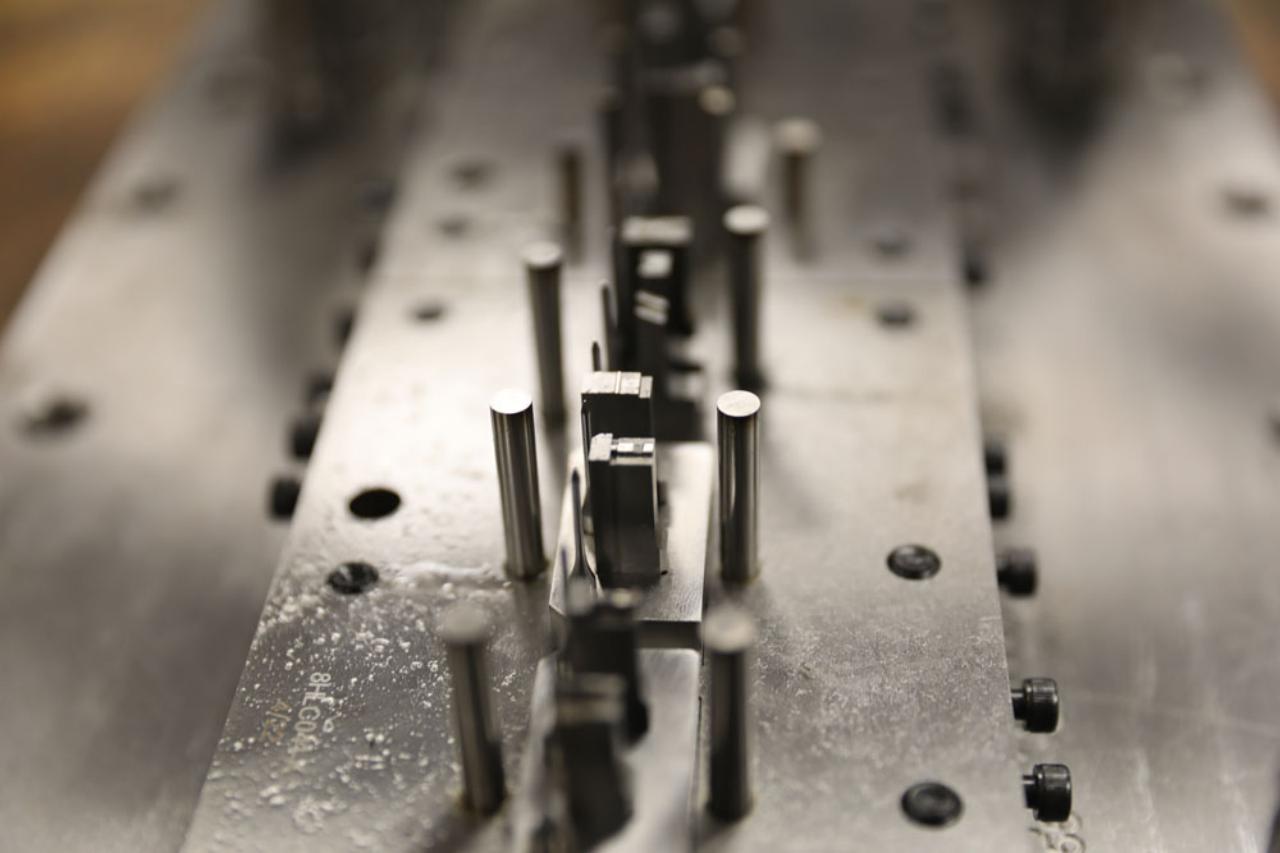
Now, develop the die layout. Break the process into stages: blanking, piercing, bending, trimming, and forming. Arrange stages to minimize strip travel and reduce waste. For progressive dies, map each cut and form to a specific station and ensure that the strip advance matches the press increments. Meanwhile, define strip guides, pilots, and strip lifters. Also, design the die block, punch sets, and die inserts for easy maintenance. Use 3D CAD to visualize assemblies and to verify clearances. Clear stage definition simplifies maintenance and improves on-press uptime.
Precision tooling and component specification
Specify punches, dies, bushings, and guide systems. Choose tolerances for critical tooling features—punch-to-die clearance often dictates part quality. Also select heat treatment and hardening methods for wear resistance. Where micron-level tolerances are crucial, utilize wire EDM and precision grinding to produce tool components with tolerances of ±1µm as required—furthermore, design for coating application or mirror polishing to enhance part finish and tool life. Additionally, define fasteners and locating features to enable quick replacement or regrinding of components. These specifications make the stamping die design reliable under high-speed production.
Prototyping and soft tooling for validation
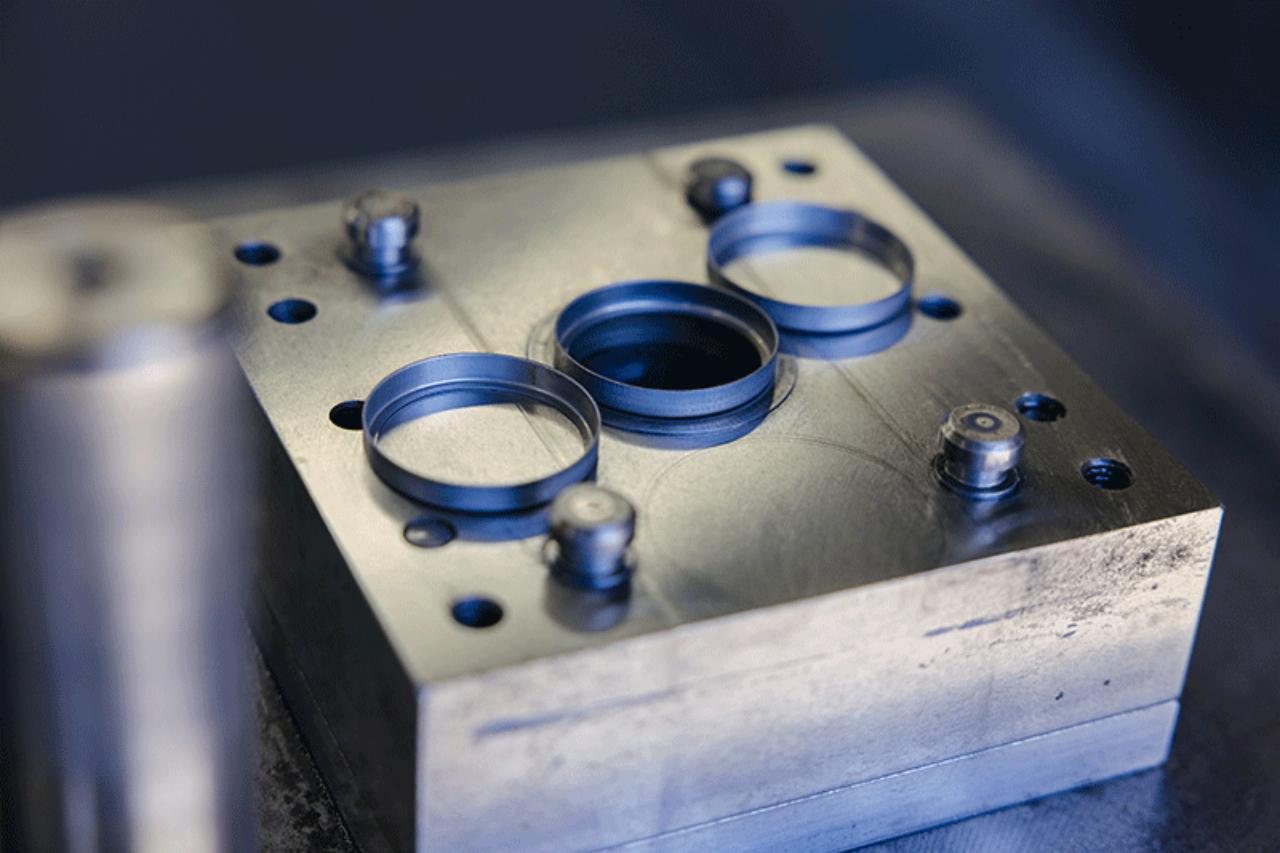
Before complete complex tooling, produce prototypes using soft tools or pre-hardened steel. Rapid prototyping helps confirm formability and ensure a proper assembly fit. Run short press trials to collect data on burrs, springback, and dimensional stability. Then, use the results to refine the die geometry and tool clearances. Additionally, perform sample plating or coating tests if the final surface finish is critical to the application. By iterating with soft tooling, you reduce the risk of significant changes after investing in complex tooling. Therefore, prototyping shortens overall time-to-market and improves final part quality.

Die testing, on-press debugging, and metrology
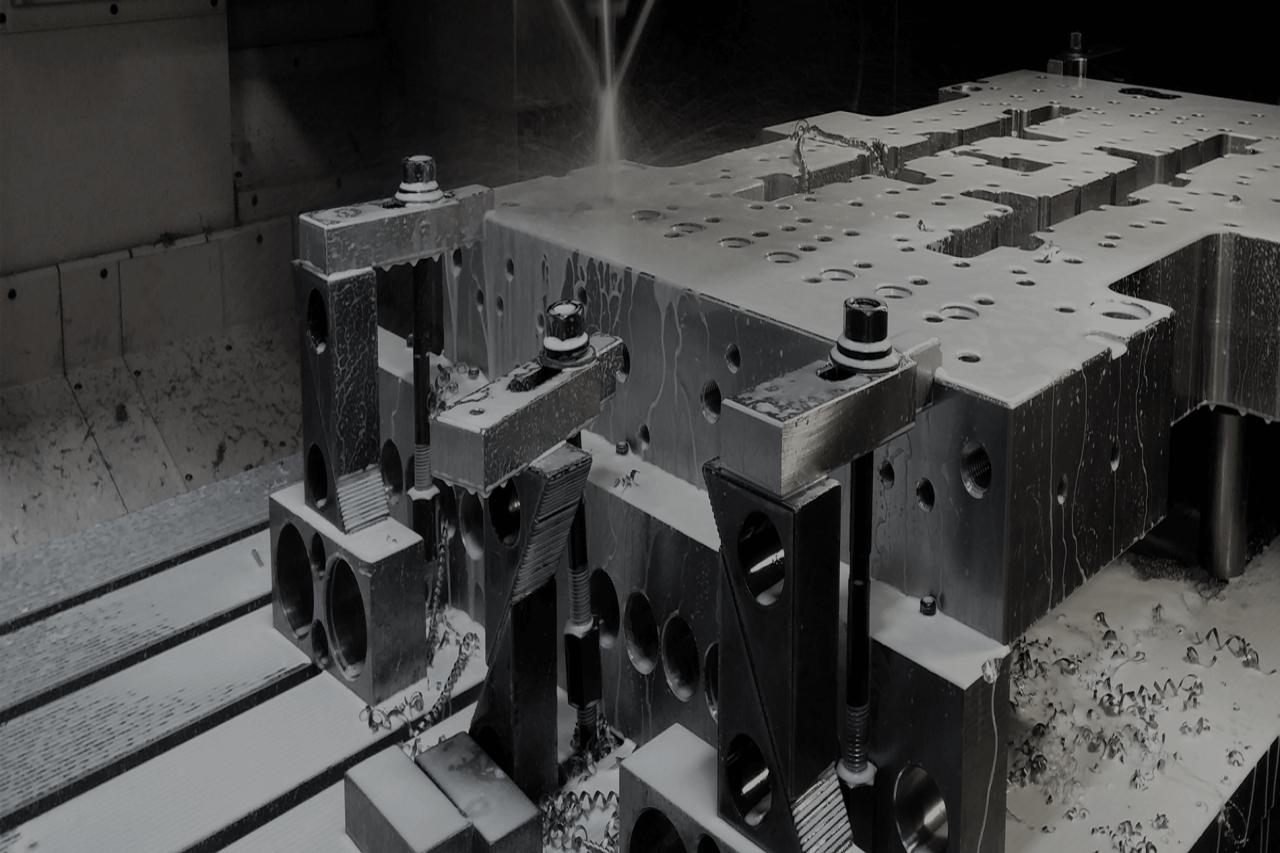
Schedule in-house die testing using production-equivalent presses. During trials, tune tonnage, feed speed, and lubrication. Monitor part consistency across cycles. Utilize advanced metrology tools, including CMMs, optical comparators, and surface roughness testers, to verify tolerances. Record tool wear patterns and check alignment. Also, prepare maintenance and regrind plans based on projected tool life. Provide detailed process documentation so operators follow validated settings. Rigorous testing and measurement ensure the stamping die design will achieve repeatable, zero-defect production.
Industry-specific adaptations and lifecycle planning
Tailor dies to industry needs. For the automotive industry, meet IATF 16949 standards for contact parts, such as battery contacts or sensor housings. For the aerospace industry, follow AS9100 and NADCAP guidelines for lightweight alloys. For electronics and 5G components, focus on micro-features and EMI shielding criteria. Additionally, plan for lifetime support, including maintenance, regrinding, recoating, and component replacement. Offer scalability to increase output without redesign. By aligning stamping die design with sector standards and lifecycle plans, you ensure compliance and long-term cost efficiency.

Production Validation and Improvement
Finally, validate the whole process under production conditions. Confirm that cycle times, scrap rates, and part tolerances meet targets. Provide detailed performance reports. Then, implement continuous improvement by reducing cycle time, extending tool life, and lowering the cost per part. Use feedback loops from production to update CAD models, revise coatings, and optimize press parameters. Additionally, maintain an open line of communication between engineering and production for quick troubleshooting and resolution. By treating stamping die design as an evolving system, you preserve quality and competitiveness over the tool’s life.
Key Takeaways for Stamping Die Design
Disciplined stamping dies design follows a clear, iterative path from DFM and material choice to prototyping, testing, and lifecycle support. Validate each step, then feed production feedback back into the design to reduce costs, minimize scrap, and extend tool life. Use precision tooling, metrology, and proper coatings to ensure repeatable results. Ultimately, a methodical approach transforms a concept into a reliable, high-volume production. Chaoyang has its own in-house design team; if you require die design services, please do not hesitate to contact us.
